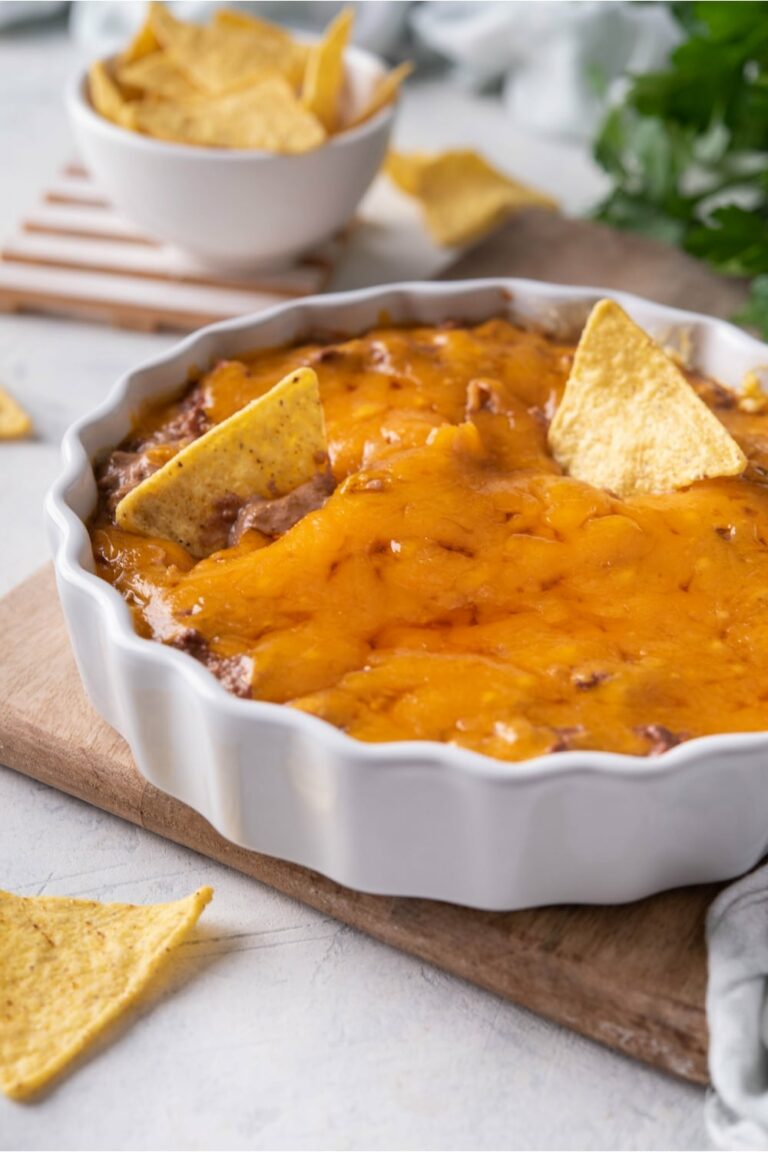
Hearty, mouthwatering, and downright addictive, this is The BEST Skyline Chili Dip Ever (Made With Cincinnati-Style Chili)! This super-delish dip is simply the bee’s knees for any gathering, be it game day, a casual family get-together, or a last-minute shindig. It’s a lively mashup of Cincinnati-style chili, cream cheese, onions, and cheddar, creating an explosion of flavors that’s too good to pass up. Trust me, folks, once you’ve had a taste, you’ll keep coming back for more!
Our Cincinnati-style chili dip takes the classic Skyline dip up a notch, with an extra layer of flavor, and a touch of Midwest charm. Now, why would you love it? Because it’s homely, scrumptious, and straightforward to whip up – you don’t have to be a top chef to nail it!
- Prep Time: 10 minutes
- Cook Time: 20 minutes
- Total Time: 30 minutes
- Servings: 8 servings
- Yield: 8 cups
Now, without further ado, let’s dive into the nitty-gritty of making this finger-licking treat!
Ingredients & Equipment You’ll Need
- 1 can (15 oz) Skyline Chili
- 1 package (8 oz) cream cheese
- 1 small onion (chopped)
- 2 cups shredded cheddar cheese
Additionally, all you’ll need is a standard oven, a baking dish, and a hot appetite!
The Skyline Chili – it’s the soul of our dip! The unique blend of meat, spices, and that special ‘Cincinnati’ zest packs a heartwarming punch that you just can’t resist. And the cream cheese? It lends a smooth, tangy contrast that rounds off the meaty flavors brilliantly. Onion provides a bit of crunch while cheddar cheese adds a gooey, cheesy delight.
Can’t get Skyline Chili? Don’t fret; regular canned chili (preferably without beans) could work as a substitute.
How To Make The BEST Skyline Chili Dip Ever (Made With Cincinnati-Style Chili)
- Begin with preheating your oven to 375 degrees F (190 degrees C).
- In a 9×13 inch baking dish, spread the softened cream cheese across the bottom. This forms the base layer of our indulgent dip.
- Then spread the can of Skyline chili over the cream cheese layer. Make sure there’s an even spread for the best flavors.
- Sprinkle the chopped onions on top of the chili layer, followed by an even layer of shredded cheese. Don’t skimp on the cheese – it’s the soul of a good dip!
- Bake it in the preheated oven for about 15-20 minutes, until the cheese is bubbly and slightly browned.
Tips For The Best Results
- Ensure you spread each layer evenly to get the perfect bite every time.
- Don���t skimp on the cheese ��� it binds all the flavors together.
Storage Tips
- Refrigerate any leftovers and consume within 3-5 days.
- Simply reheat in a microwave or oven before serving again.
Frequently Asked Questions
Q: Can I use another type of cheese?
A: Yes, you can! Feel free to experiment with Monterey Jack or Mozzarella cheese.
Q: Can this dip be made ahead?
A: Absolutely! Just prepare the layers, cover and refrigerate. However, add the final cheese layer right before baking.
Q: Can I add other ingredients?
A: Yes! You could add jalape��os, bell peppers, or even bacon if you wish to.
Q: How can I make this dip vegetarian-friendly?
A: You can substitute the Skyline Chili with a vegetarian chili alternative.
Q: What can I serve with this dip?
A: Any plain or flavored tortilla chips would work great.
Nutritional Facts of The BEST Skyline Chili Dip Ever (Made With Cincinnati-Style Chili)
Refer to the can of Skyline Chili used for exact nutritional information.
In conclusion, this dip isn’t just a dish; it’s an experience! Whether served with tortilla chips, crispy baguettes, or even celery sticks, this Skyline Chili Dip will transform any mundane gathering into a delightful fiesta. Go ahead, give it a shot, and enjoy the unanimous praise!


0 Comments