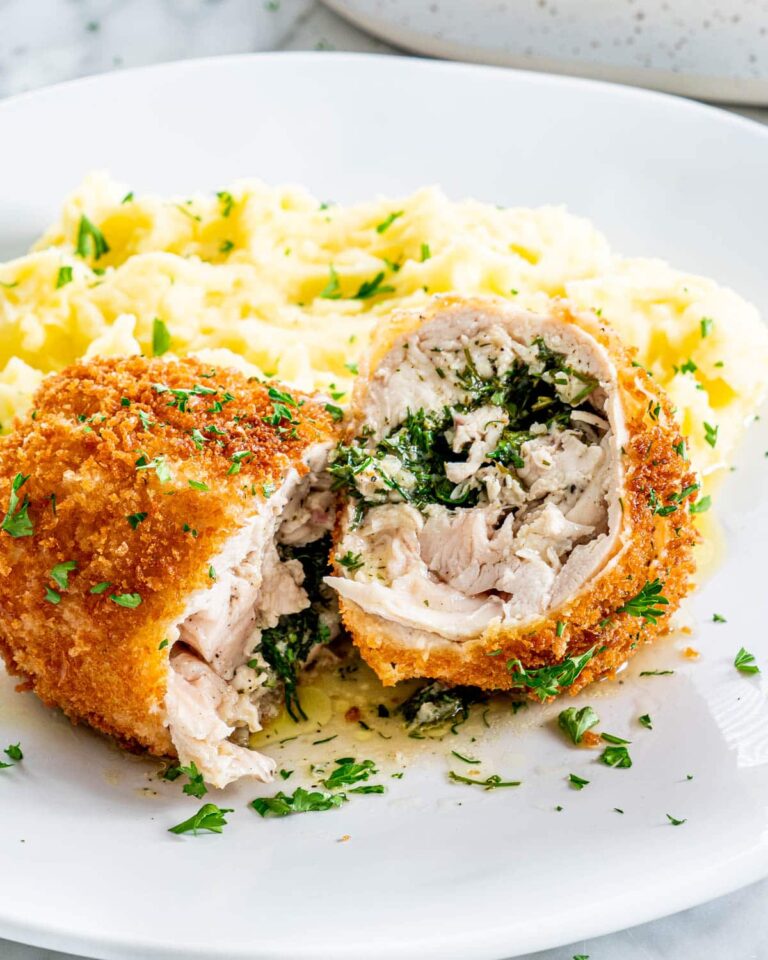
If you’re looking for an exciting dish that can be a showstopper at your dinner party, then you’re in for a treat. We’re talking about Chicken Kiev, an irresistible combo of buttery, garlicky heaven hidden inside of a crisp, golden chicken breast. It’s a classic Ukrainian dish that’s good for any occasion, be it a family dinner, a special date night, or an elite party. Trust me, these tasty chicken parcels are the perfect comfort food that will impress anyone who tries them.
Let me lay it out for you; tender chicken envelops a heart of creamy garlic butter, all encased in a crispy breaded shell. Every bite is a delightful explosion of flavors. So, whether you’re already a fan or about to become one, these Chicken Kievs are absolutely unmissable.
- Prep Time: 30 minutes
- Cook Time: 20 minutes
- Total Time: 50 minutes
- Servings: 4
- Yield: 4 Chicken Kievs
Now, you’re hooked, right? Great! Let me walk you through how you can whip up this fancy dish right in your kitchen. Let’s get rollin’!
Ingredients & Equipment You’ll Need
- 4 boneless skinless chicken breasts
- 4 garlic cloves, minced
- 1 cup unsalted butter
- 2 cups breadcrumbs
- 2 eggs
- Salt and pepper to taste
Equipment: Kitchen hammer, Cooking foil, Frying pan
The star players in Chicken Kiev are the chicken breasts and garlic butter. The chicken should be juicy and succulent, while the garlic butter lends an unmistakable touch that truly defines this dish. If you can’t find breadcrumbs, no sweat ��� crushed cornflakes or panko crumbs work well as alternatives.
How To Make Chicken Kiev
- Start by pounding the chicken breasts until they’re thin and flat. This ensures even cooking and makes them easier to roll.
- Mix the minced garlic with the butter, then spread about a tablespoon onto each chicken breast. Roll them up tightly and secure with toothpicks.
- Dip each chicken roll into beaten eggs, then roll in breadcrumbs until fully coated. For a thicker crust, repeat the dip-roll process.
- Deep-fry the breaded chicken rolls until golden brown on all sides. Make sure to keep the heat moderate to ensure the chicken is fully cooked inside.
- Once done, drain the excess oil on paper towels and your Chicken Kiev is ready to be served!
Tips For The Best Results
- Pound the chicken evenly to ensure uniform cooking.
- Don’t skip the step of sealing the chicken rolls with toothpicks. It prevents the butter from leaking out while frying.
Storage Tips
- Store leftovers in an airtight container in the fridge for 2-3 days.
- You can freeze the breaded chicken rolls and fry them whenever you like.
Frequently Asked Questions
Q: Can I bake Chicken Kiev instead of deep-frying?
A: Absolutely, you can bake them in a preheated oven at 200��C for about 25-30 minutes.
Q: What’s the best side dish for Chicken Kiev?
A: Mashed potatoes, garden salad or steamed greens make great sides for Chicken Kiev.
Nutritional Facts of Chicken Kiev
A single serving of Chicken Kiev contains about 492 calories, 23g of fat, 33g of proteins, and 16g of carbohydrates.
In conclusion, Chicken Kiev is an impressive, scrumptious dish that everyone should try at least once. Its heartwarming charm lies in every crunchy bite that reveals a burst of buttery goodness. Go on, give your taste buds a delight with this succulent dish that’s as hearty as it is flavorful. Enjoy!


0 Comments