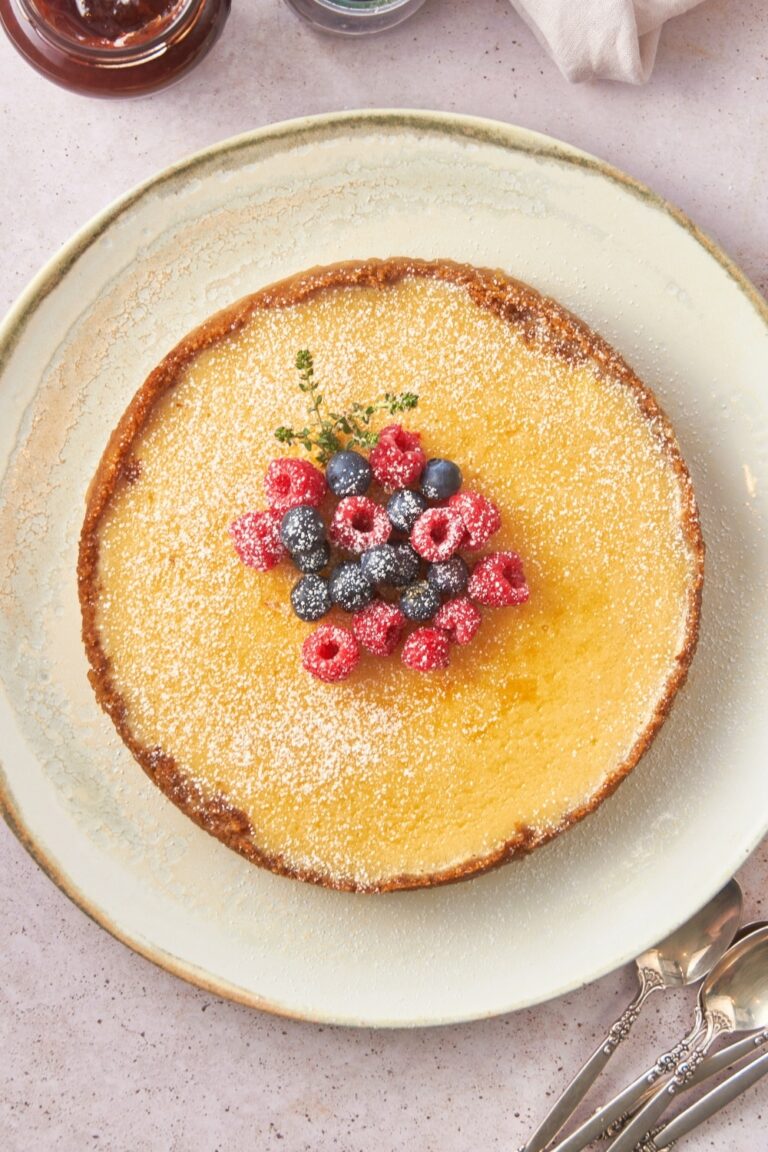
Ah! The Classic Philadelphia Cheesecake, a creamy, satiny pleasure for your taste buds that’s sure to leave you wiping off the crumb-‘licious memento from your lips with sheer delight. A true crowd-pleaser for all occasions, be it a fancy dinner, a casual catchup or, dare we say, a late-night guilty pleasure.
While there’s an endless avalanche of fancy desserts out there, folks, the irreplaceable charm of this devotee of the dessert world isn���t going away anytime soon. It’s a deeply indulgent affair crafted from the smoothest cream cheese and a sweet graham cracker crust, making it a deliciously perfect canvas for your favourite toppings!
Oh, and you are going to LOVE this one. It’s gonna whisk away your palate to that sweet, happy place. So, brace yourselves in this crumb-coated, cream-cheese filled journey to cream-town. Let���s dive in shall we?
- Prep Time: 25 minutes
- Cook Time: 55 minutes
- Total Time: 1 hour 20 minutes
- Servings: 12
- Yield: 1 9-inch cheesecake
So gather round cheesecake devotees, it’s time to break out your mixing bowls and preheat those ovens. Rolls up sleeves, let���s get cracking!
Ingredients & Equipment You’ll Need
- 1 1/2 cups graham cracker crumbs
- 1/4 cup butter, melted
- 2 tablespoons white sugar
- 3 (8 ounce) packages cream cheese
- 1 cup white sugar
- 2 teaspoons vanilla extract
- 2 eggs
- 1 egg yolk
- 1/4 cup all-purpose flour
- 1/2 cup heavy whipping cream
You’ll also need, a 9-inch springform pan, a mixing bowl and an oven, of course!
How to Make Classic Philadelphia Cheesecake
- Preheat your oven to 375 degrees F (190 degrees C). While the oven is preheating, mix graham cracker crumbs, melted butter, and 2 tablespoons of sugar in a bowl until well incorporated and crumbly. Press this beut into the bottom of a 9-inch springform pan.
- In a separate large bowl, mix cream cheese with 1 cup sugar until smooth. Blend in milk, and then mix in the eggs one at a time, mixing just enough to incorporate. After that, mix in sour cream, vanilla, and flour until smooth. Pour filling into prepared crust.
- Bake in preheated oven for one hour. Turn the oven off, and let the cheesecake cool in the oven with the door closed for 5 to 6 hours; this prevents cracking.
- Chill in refrigerator until serving.
Tips For The Best Results
- Ensure all ingredients especially the cream cheese and eggs are at room temperature for easy mixing and a lump-free batter.
- Add toppings like a delicious fruit compote or a creamy chocolate ganache to elevate the experience.
Storage Tips
- The cheesecake will keep well in the fridge for up to a week. For longer storage, consider freezing it.
- As far as possible, avoid the freeze-thaw cycle. Thaw it once and consume.
Frequently Asked Questions
Q: Can I use other types of biscuits for the crust?
A: Absolutely! Digestive biscuits or Oreos make a good alternative.
Q: Can I skip the eggs in the recipe?
A: Unfortunately, eggs are crucial for the texture and structure of a cheesecake and it might not work well without it.
Q: Can this cheesecake be made dairy-free?
A: Yes, there are plant-based alternatives to cream cheese that can be used.
Q: Is water bath necessary while baking the cheesecake?
A: While it’s not mandatory, a water bath helps cook the cheesecake more evenly and prevent cracks.
Q: Can I freeze the cheesecake?
A: Yes, but it’s best to freeze without any toppings and add those fresh when serving.
Nutritional Facts of Classic Philadelphia Cheesecake
Each serving of this Classic Philadelphia Cheesecake provides approximately 450 calories, with 30g of Total Fat, 45g of Carbohydrates, 8g of Protein, and 25g of Sugar.
Phew! Who knew all that cream cheese could lead to such a heavenly creation? For me, the Classic Philadelphia Cheesecake takes the cake (pun intended) when it comes to cheesecakes. It’s the perfect balance of tangy, sweet, creamy and crunchy. Top it off with some freshly picked berries or a drizzle of your favourite sauce, and you won’t need another dessert. Ever.


0 Comments