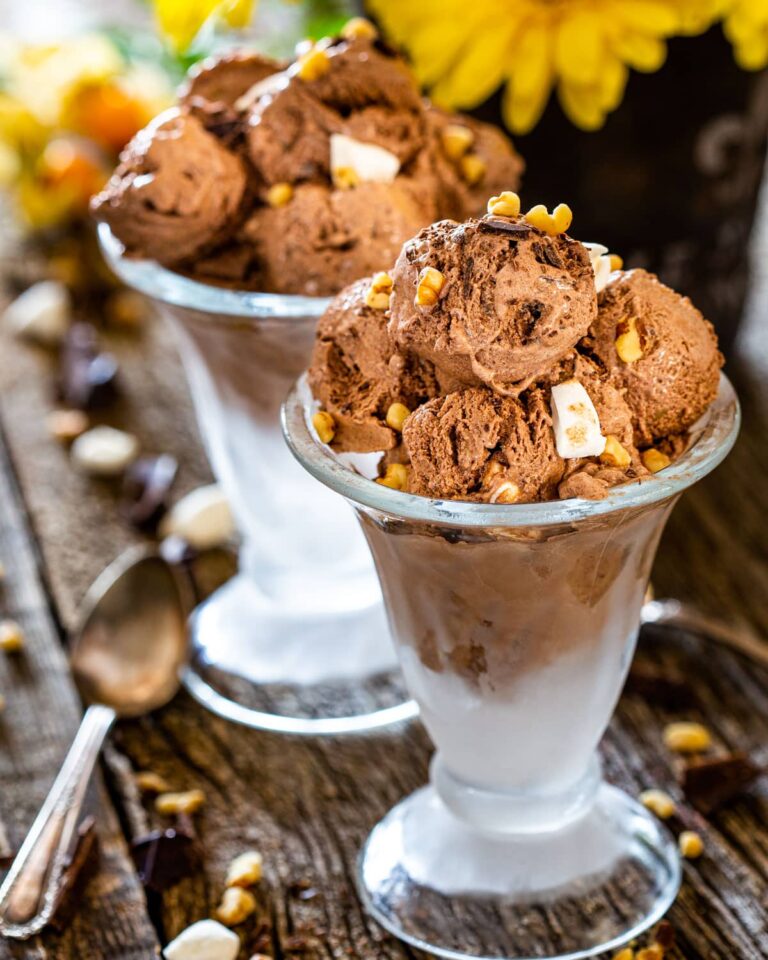
Ah, Homemade Rocky Road Ice Cream. Just the name of it sends shivers of delight down one’s spine, doesn’t it? This heavenly dessert is a concoction of creamy vanilla ice cream, crunchy almonds, fluffy marshmallows, and rich dark chocolate. It screams indulgence and comfort. It’s perfect for a cozy movie night, a backyard barbeque, or even just a random Tuesday when you’re craving something sweet and satisfying. Plus, it’s homemade, so you know what’s going in it and can adjust the sweetness to your liking. Prepare to fall head over heels for this delightful dessert!
Prep Time: 15 minutes
Cook Time: 20 minutes
Total Time: 35 minutes + Freezing time
Servings: 8
Yield: 1 quart
Alright now, before jumping straight into the recipe, let’s get you prepped up properly. The right equipment and the right measurements are key to achieving that perfect, smooth, and creamy Homemade Rocky Road Ice Cream. So without further ado, let’s get started!
Ingredients & Equipment You’ll Need
- 2 cups heavy cream
- 1 cup whole milk
- 3/4 cup sugar
- 1 tbsp vanilla extract
- 1/2 cup unsweetened cocoa powder
- 1 cup mini marshmallows
- 1/2 cup chopped almonds
- 1/2 cup chopped dark chocolate
Important Equipment: Ice cream maker
The heavy cream and milk form the base of your ice cream, giving it that silky texture. The cocoa powder and dark chocolate give it a rich, deep chocolatey flavor. The almonds add a lovely crunch and the marshmallows a delightful fluffiness. And the sugar, of course, sweetens the deal, literally!
If you don’t have an ice cream maker, don’t fret. You can still make this recipe by freezing the mix and stirring it every 30 minutes until it’s frozen.
How To Make Homemade Rocky Road Ice Cream
- Combine heavy cream, milk, sugar, cocoa powder, and vanilla extract in a large bowl. Stir until all the sugar and cocoa are dissolved.
- Pour the mixture into your ice cream maker and churn according to the manufacturer’s instructions.
- Once the ice cream is nearly frozen, add in the chopped almonds, dark chocolate, and marshmallows.
- Continue churning until the mix-ins are well distributed and the ice cream is fully frozen.
- Transfer the ice cream to a lidded container and freeze for at least 2 hours before serving.
Tips For The Best Results
- Make sure to chill your ice cream base thoroughly before churning.
- Freeze the container you plan to store your ice cream in. This keeps the ice cream from melting during transfer.
Storage Tips
- Store ice cream in an airtight container. It will last for up to 2 weeks in the freezer.
Frequently Asked Questions
Q: Can I replace the heavy cream with low-fat milk?
A: Yes, but it will affect the creaminess of the ice cream.
Q: I don’t like almonds. Can I use a different nut or leave them out entirely?
A: Yes, you can use any nut you like or none at all. The texture will be different, but still delicious.
Q: Can I add in other mix-ins like cookie pieces or fruit?
A: Sure! Just add them in at the same time as the marshmallows and chocolate.
Q: Can I use this recipe to make different flavors of ice cream?
A: Yes, just omit the cocoa powder and chocolate and replace with your desired flavors.
Q: How long will this ice cream last in the freezer?
A: For the best flavor and texture, consume within 2 weeks.
Nutritional Facts of Homemade Rocky Road Ice Cream
1 Serving of this Homemade Rocky Road Ice Cream contains approximately 330 Calories, 20g Fat, 34g Carbohydrates, 5g Protein.
There you have it, folks – my foolproof recipe for Homemade Rocky Road Ice Cream. Serving it in waffle cones or topping it with some whipped cream and a cherry certainly wouldn’t hurt. Happy churning and enjoy!


0 Comments