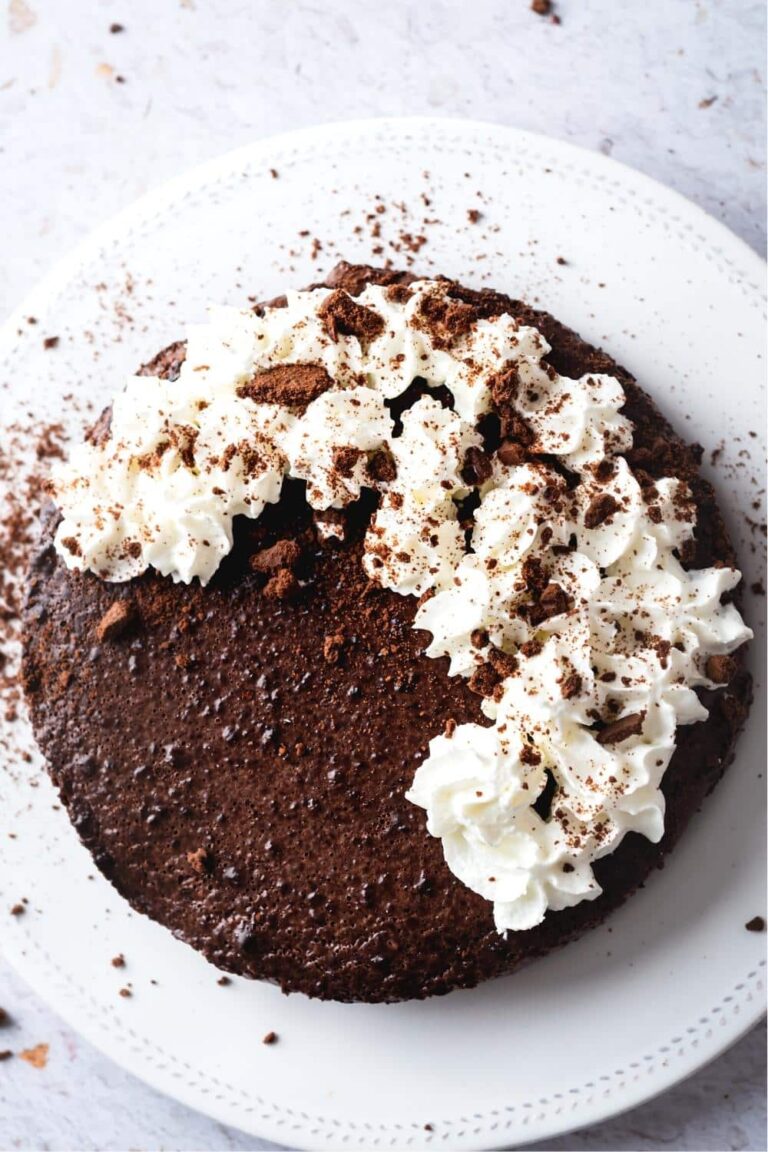
Indulge in this heavenly creation – the No Bake Chocolate Pie, with a Rich and Creamy Filling on an irresistible Oreo Pie Crust. This dessert is beyond perfect for a party, family gatherings, or to make any occasion extra special. You won’t believe the decadence this creamy, rich, and sumptuous chocolate pie brings to your palate. It’s a chocoholic’s dream with a crumbly, Oreo crust! Definitely an intense chocolate experience that even non-dessert lovers would appreciate! Your friends, family, and guests will love you for serving them this stunner!
What’s more, prep time is a breeze and there’s no need for you to turn your oven on. It’s a simple and straightforward recipe packed with so much flavor. So why not try making one today and see for yourself.
- Prep time: 20 minutes
- Cook time: 0 minutes
- Total time: 20 minutes + refrigeration time
- Servings: 8
- Yield: 1 pie (9 inches)
Ready now to dive into this chocolate haven? Let’s get started on the recipe below, shall we?
Ingredients & Equipment You’ll Need
- 35 Oreo Cookies
- 6 tablespoons melted butter
- 2 cups heavy cream
- 1 1/2 cup semi-sweet chocolate chips
- 1 teaspoon of pure vanilla extract
- Whipped cream and chocolate shavings for garnish (optional)
You’ll also need a 9-inch pie pan and a food processor or a rolling pin.
The Oreo cookies create that divine crispy crust while the melted butter binds the crushed cookies together. The heavy cream and semi-sweet chocolate chips, when heated together, make that rich creamy filling and the vanilla extract enhances the chocolate flavor!
How To Make No Bake Chocolate Pie | Rich & Creamy Filling On Oreo Pie Crust
- Firstly, crush the Oreo cookies (filling included) in a food processor or put them in a ziplock bag and roll them with a rolling pin until finely crushed.
- Melt the butter and mix it with the crushed cookies. Press this mixture onto the bottom and sides of your pie pan. Set aside.
- Heat the cream and pour it over the chocolate chips in a bowl. Let it stand for a few minutes then stir until smooth. Mix in the vanilla extract.
- Pour this filling over the crust in your pie pan and refrigerate until set, at least for 2 hours or overnight.
- Get creative and adorn with whipped cream and chocolate shavings right before serving.
Tips For The Best Results
- Make sure your pie crust is firm before pouring in the chocolate filling.
- Use quality semi-sweet chocolate chips for a better taste.
Storage Tips
- When not served immediately, store the pie in the fridge. It is even better served chilled.
Frequently Asked Questions
Q: Can I use milk chocolate chips instead of semi-sweet?
A: Yes, you can! But keep in mind, the pie will be on the sweeter side.
Q: Do I need to remove the filling of the Oreos before crushing?
A: No, you need to crush the cookies with their filling.
Q: Can I use a mixer to crush the cookies?
A: Yes, you can either use a food processor or a rolling pin as well.
Q: What can I use if I don’t have a 9-inch pie pan?
A: You can also use a springform or a tart pan.
Q: How long does it last in the refrigerator?
A: It can last for up to a week when stored properly in the fridge.
Nutritional Facts of No Bake Chocolate Pie | Rich & Creamy Filling On Oreo Pie Crust
Please note that these nutritional facts might vary depending on the brands of ingredients used. An individual serving contains approximately 400 calories, 25g of fat, 40g of carbohydrates, and 5g of protein.
After trying this No Bake Chocolate Pie with a Rich & Creamy Filling on Oreo Pie Crust, I assure you, it will be your go-to dessert. You can never go wrong with this, whether serving to impress your guest, or as a comfort food for your sweet tooth. Enjoy it with a glass of wine, a cup of coffee, or even by itself!


0 Comments