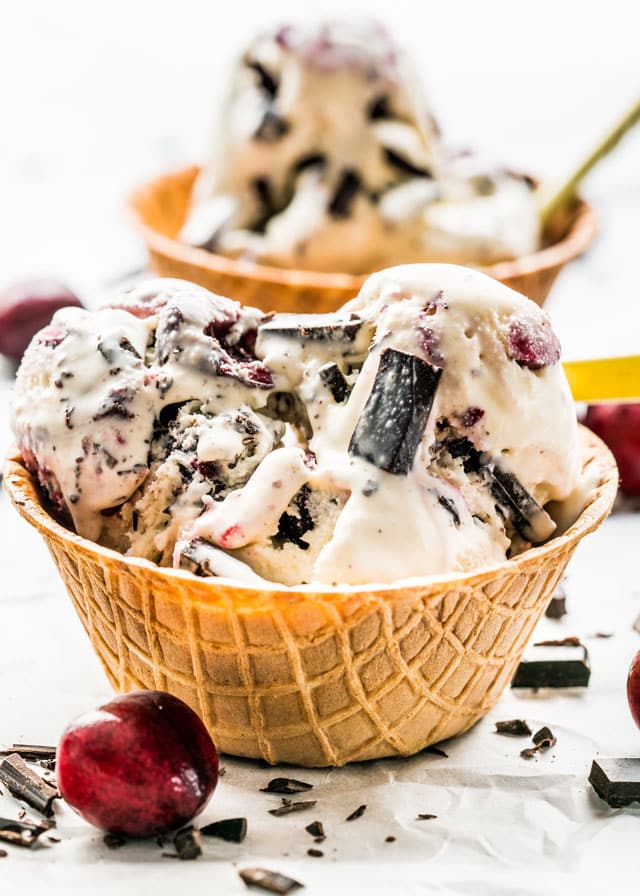
Let it be officially known, this recipe for No Churn Cherry Chocolate Ice Cream is a stunner. It’s a heavenly blend of juicy cherries and rich dark chocolate swirled into smooth and creamy homemade ice cream. And the best part? You don’t need a fancy ice cream maker to whip this bad boy up! Perfect for summer parties, backyard barbecues or for that sneaky midnight snack when the sugar cravings hit.
As soon as you give this a go, your tastebuds are going to be doing a happy dance. It’s creamy, it’s fruity, it’s chocolaty – what’s not to love? Plus, it’s easy enough for even the cooking novices to nail. Trust me, your kitchen is going to be ice cream central from now on!
- Prep Time: 15 mins
- Cook Time: 5 hrs (freezing time)
- Total Time: 5 hrs 15 mins
- Servings: 12 servings
- Yield: 1.5 quarts
Ready to scoop into the creamy heaven that is No Churn Cherry Chocolate Ice Cream? Let’s get into it!
Ingredients & Equipment You’ll Need
- 2 cups of fresh cherries
- 1 can (14oz) of sweetened condensed milk
- 2 cups of heavy cream
- 1 tsp of pure vanilla extract
- 1 cup of dark chocolate chunks
You’ll also need a hand mixer and a loaf pan.
As for the star ingredients in this recipe. The cherries bring a lovely tanginess that cuts through the sweetness of the ice cream while the dark chocolate provides a delightful richness to the mix. If fresh cherries are out of season, you can always used canned cherries ��� just make sure to drain them before adding to the mix.
How To Make No Churn Cherry Chocolate Ice Cream
- First, pit your cherries and cut them in half. If you can’t find fresh cherries, canned cherries work well too! Just make sure you drain them first!
- In a separate bowl, whip the heavy cream until it forms soft peaks. You want it to be fluffy and airy, this will help to give your ice cream its creamy texture!
- Then, fold in the condensed milk and vanilla extract to your whipped cream. Be gentle, you don’t want to knock out all that air you’ve just whipped in!
- Now, it’s time to add the cherries and chocolate chunks and fold those through. Once they’re evenly distributed, pour the mixture into your loaf pan and pop it in the freezer. You need to be patient now because it’s going to need at least five hours to freeze properly, but trust me, it’s worth it!
Tips For The Best Results
- Use the highest quality dark chocolate you can find. It makes all the difference.
- Ensure your cream is very cold before you start whipping.
- Freeze the ice cream in an airtight container to avoid icy crystals forming on top.
Storage Tips
- No Churn Cherry Chocolate Ice Cream can be kept in the freezer for up to two weeks.
- After two weeks, the ice cream may start to develop freezer burn.
Frequently Asked Questions
Q: Can I use milk chocolate instead of dark chocolate?
A: Absolutely, but keep in mind it may make your ice cream sweeter.
Q: Can I use a food processor instead of a hand mixer?
A: Yes, as long as it has a whisk attachment.
Q: Can I use this recipe with other fruits?
A: Sure! Freel free to experiment with other fruits that pair well with chocolate.
Q: Can I use frozen cherries?
A: Yes but allow them to thaw before adding them to the mix.
Q: Why is my ice cream hard?
A: If the ice cream is too hard, leave it out at room temperature for a few minutes before serving.
Nutritional Facts of No Churn Cherry Chocolate Ice Cream
Let’s wrap this thing up! This No Churn Cherry Chocolate Ice Cream recipe isn���t diet food, it���s treat food. It���s indulgent, it���s luscious and it���s so darn tasty. As for pairing suggestions? Serve alongside a warm brownie and watch people go wild for it. So crank up that hand mixer, and let the ice cream party start!


0 Comments