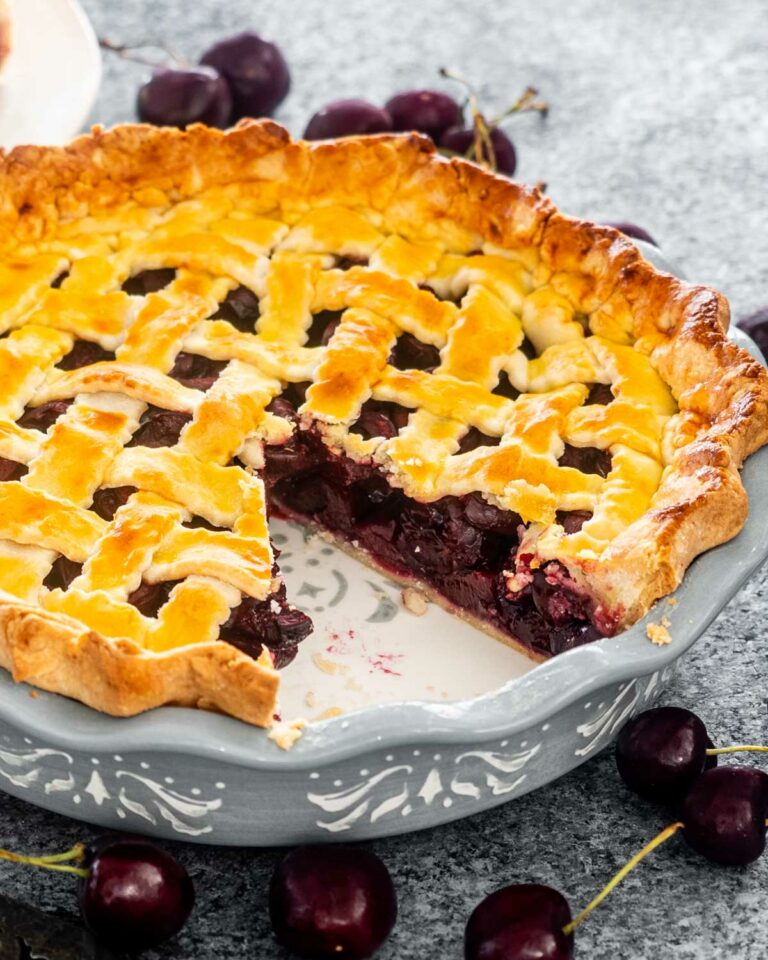
Homemade Cherry Pie, oh Baby! A classic sweet treat that’s perfect for any occasion. Whether you’re hosting a barbecue or a church picnic, a family reunion or just a weeknight dessert, this pie is sure to impress. Cherry Pie is quite literally the cherry on top to any meal. Imagine the oohs and aahs when you bring out a piping hot, freshly baked cherry pie, cap it off with a scoop of crispy vanilla ice cream…Yum! Don’t get caught up on the thought because here’s your chance to make it a reality.
This Homemade Cherry Pie is as rich and buttery as your grandma’s, with a sweet yet tart filling, and a golden crust that���s tender and flaky. If you love cherries, you’ll fall head over heels for this pie, it’s a total win-win situation.
- Prep time: 30 minutes
- Cook time: 1 hour
- Total time: 1 hour 30 minutes
- Servings: 8
- Yield: 1 9-inch pie
Alright, let’s get into creating this fruity goodness, shall we?
Ingredients & Equipment You’ll Need
- 2 cups of fresh or frozen cherries
- 1 cup of granulated sugar
- 2 tablespoons of cornstarch
- A pinch of salt
- 1 teaspoon of vanilla extract
- Pie crust
- 1 tablespoon of butter
Equipment:
- Pie dish
So, what’s doing what here? The cherries are the star of this Pie, giving it that authentic homemade cherry pie taste. The cornstarch is important as it acts as a thickener for the syrup. Vanilla adds a dash of magic making the cherry flavor pop.
How To Make Homemade Cherry Pie
- Start by preheating your oven to 425 degrees F.
- In a saucepan, combine cherries, sugar, cornstarch, and salt. Cook over medium heat, stirring frequently, until thick and bubbly. Remove from heat and stir in vanilla.
- Roll out pie dough and place in a pie pan. Pour the cherry filling into the crust. Dot the top with butter. Add the top crust or make a lattice design, and crimp the edges.
- Bake in the preheated oven for about 40-45 minutes, or until the crust is golden brown and the filling is bubbly. Allow the pie to cool completely before serving.
Tips For The Best Results
- Do not overfill your pie, it could turn your crust soggy.
- Always allow your pie to cool properly. This will help to thicken the pie filling.
Storage Tips
- You can keep your cherry pie at room temperature for up to 2 days or in the fridge for up to 5 days.
Frequently Asked Questions
Q: Can I use tinned cherries for this pie instead of fresh or frozen?
A: Yes, but be careful to read the tin to check whether the cherries are in syrup or juice, as it may alter your pie’s sweetness.
Q: Can I make this pie ahead of time?
A: Absolutely! Make sure it’s properly cooled before you cover and store it in the fridge.
Q: Can I freeze my homemade cherry pie?
A: Sure thing! Once the pie has cooled, wrap it up tightly and it can be stored in your freezer for up to 3 months.
Q: Do I have to pit the cherries?
A: Yes, definitely. You don’t want your guests to encounter any cherry stones.
Q: Can I use this recipe for mini pies?
A: For sure! Adjust the baking time accordingly, as they’ll bake faster than a whole pie.
Nutritional Facts of Homemade Cherry Pie
Coming soon��� Nutrition facts vary based on your ingredient choices and portion sizes.
This Homemade Cherry Pie seamlessly blends a tart cherry filling with a flaky, buttery crust. Every slice is a comfort loaded portion. Pair a slice of the pie with a scoop of vanilla ice cream or sweetened whipped cream for a match made in heaven. So folks, put your baking gloves on, get in your kitchen and let’s get this pie in the oven!


0 Comments